HOW TO START A T-SHIRT CLOTHING LINE
Starting a t-shirt clothing line can be an exciting venture. Starting a t-shirt clothing line requires creativity, perseverance, and a strong understanding of your target market. With careful planning, attention to quality, and effective marketing, you can create a successful and thriving business. Here are some steps to help you get started:
Define Your Brand: Determine the concept and identity of your clothing line. Consider the target audience, style, and values you want to represent through your t-shirts.
- Market Research: Conduct market research to understand your target market, competition, and current trends. Identify what sets your t-shirts apart and how you can position your brand in the market.
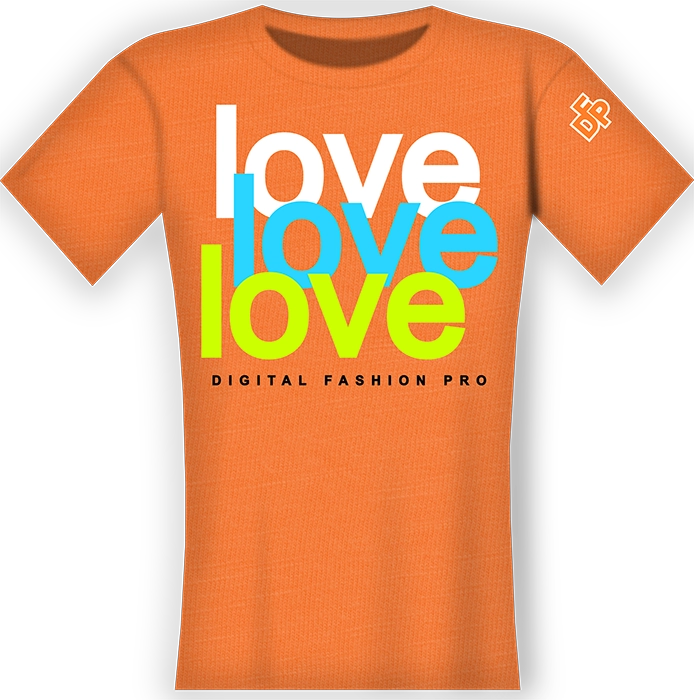
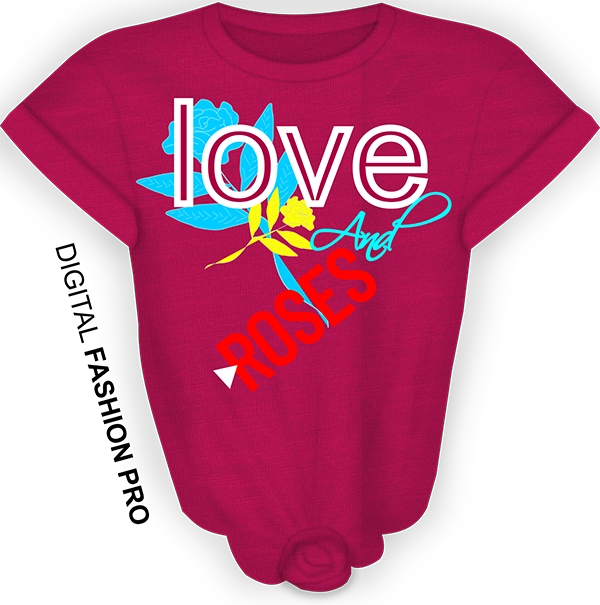
- Design and Artwork: Create unique and appealing designs for your t-shirts. Consider hiring a graphic designer or using design software like Digital Fashion Pro or Adobe Illustrator to bring your ideas to life.
- Source Materials and Production: Find reliable suppliers for high-quality t-shirts and select printing or manufacturing methods that align with your budget and desired quality. Options include screen printing, heat transfer, or working with a custom t-shirt printing company.
- Create a Brand Identity: Develop a brand name, logo, and visual elements that reflect your brand’s identity. Consistency in branding is important for building recognition and customer loyalty.htt
- Set Up an Online Presence: Create a website or online store to showcase and sell your t-shirts. Include high-quality product images, detailed descriptions, and an easy-to-use purchasing process. Utilize social media platforms to build an online following and engage with your target audience.
- Marketing and Promotion: Develop a marketing strategy to generate awareness and attract customers. Utilize social media marketing, influencer collaborations, email marketing, and other digital marketing techniques to promote your t-shirts. Participate in local events, pop-up shops, or collaborations to reach a wider audience.
- Build Relationships: Cultivate relationships with your customers, suppliers, and potential collaborators. Provide excellent customer service and actively engage with your audience through social media, email newsletters, or other communication channels.
- Monitor Sales and Feedback: Track your sales and gather feedback from customers to continually improve your products and customer experience. Pay attention to trends and customer preferences to adapt and stay relevant in the market.
- Scale and Expand: As your t-shirt clothing line grows, consider expanding your product range, exploring new markets, or partnering with retailers to increase your distribution channels.
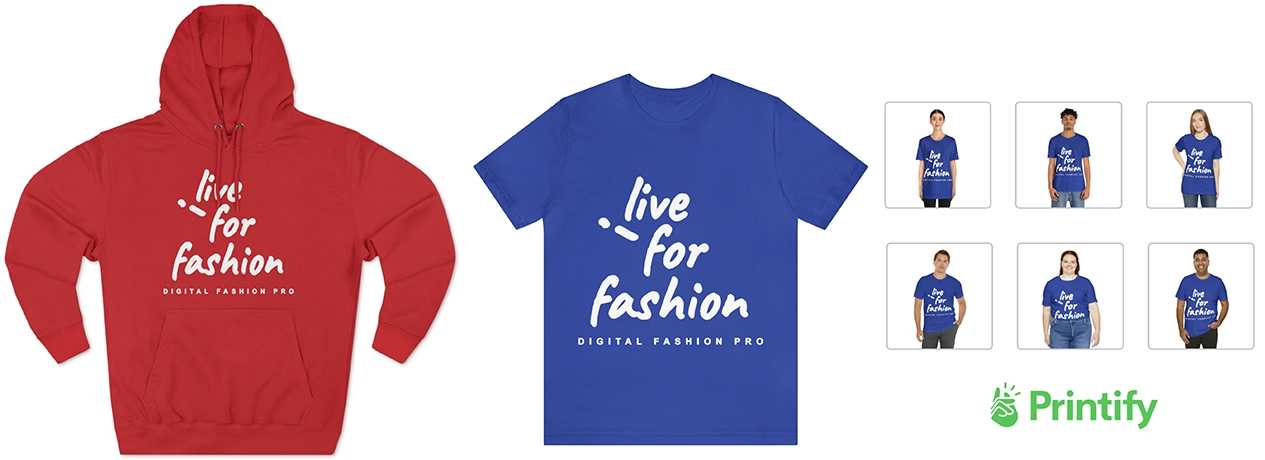
PUT YOUR DESIGNS ON TEES, HOODIES & MORE VIA PRINTIFY!
Zero Upfront Cost. You only pay as you get sales for your designs. No Inventory! No Minimums. Get Your Own Storefront. FYI: You can also easily create your graphic designs, logos & artwork with Digital Fashion Pro – then upload your artwork to Printify. If you need help with your artwork or logos – please email us for our service prices.
HOW TO DESIGN YOUR OWN T-SHIRTS
To design your own t-shirts using Digital Fashion Pro, follow these steps:
- Install Digital Fashion Pro: Start by ordering Digital Fashion Pro software on your computer. You can visit the official website of Digital Fashion Pro to purchase and download the software.
- Launch the Software: Once the software is installed, launch it on your computer. You’ll be presented with the main interface, which consists of various design tools and options.
-
Choose a Template: Digital Fashion Pro offers a wide range of pre-designed templates for t-shirts. Select the “T-Shirt” category and browse through the available templates. Choose a template that matches your vision or the style you want to create.
- Customize the Design: After selecting a template, you can start customizing it to create your unique design. Use the various design tools provided by Digital Fashion Pro, such as drawing tools, color palettes, fabric textures, and pattern options, to modify the template according to your preferences.
- Add Graphics and Text: If you want to include graphics or text in your t-shirt design, you can import your own images or use the built-in graphics library of Digital Fashion Pro. You can also add text using different fonts, sizes, and colors to create slogans, logos, or other text-based elements. Digital Fashion Pro also comes with built-in graphic design training.
- Experiment with Colors: Digital Fashion Pro allows you to experiment with different colors for various elements of your t-shirt design. Use the color picker tool to select custom colors or choose from the available color palettes.
- View and Edit: Digital Fashion Pro helps you visualize how your t-shirt will look in real life. You can fill your template in with real digital fabric from the DFP Digital Fabric Library. Make any necessary adjustments or edits to refine your design.
- Save and Export: Once you’re satisfied with your t-shirt design, save your work within the Digital Fashion Pro software. You can save it in the software’s native format for future editing or export it to a compatible file format, such as PNG, to share or print your design.
- Print or Share: After exporting your design, you can print it using a high-quality printer or share it digitally with others. You can send the design file to a professional printing service or use it for online platforms that allow custom t-shirt printing or you can use the Digital Fashion Pro Manufacturing Contact List eBook that is included in the Fashion Mogul Package if you prefer to do a total design of your T-shirts from scratch.
Remember to refer to the Digital Fashion Pro documentation or tutorials for detailed instructions on using the software effectively.


